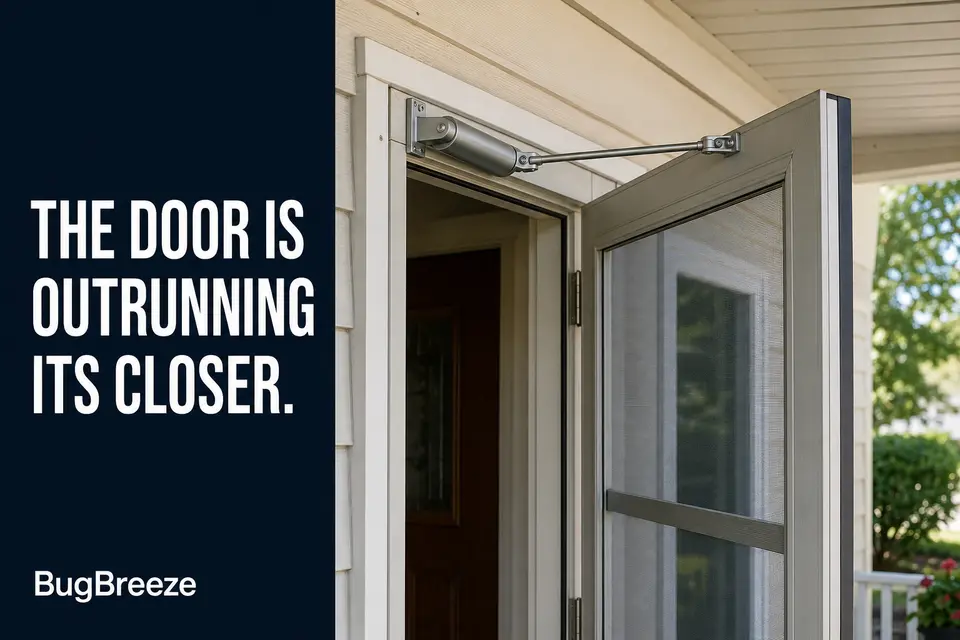
A hinged screen door that slams shut is not simply latching firmly. The warning sign is a door that accelerates through its swing, gives someone little time to clear the opening, and reaches the frame before the closer brings it under control.
The real question is whether the closer still produces resistance. If the cylinder, rod, pins, and brackets remain secure and the resistance is consistent, a small speed adjustment may be justified. If a bracket shifts, a connection has excessive play, or the closer supplies little resistance, turning the adjustment screw will not correct the underlying failure.
Until that distinction is clear, keep fingers away from both door edges and do not release the door from a wide-open position. A fast-closing door can pinch fingers, strike someone passing through, and repeatedly load the latch area and closer mounts.
The Likely Causes of Hinged Screen Door Closing Dangerously Fast
Treat the speed setting as the leading cause only when the complete closer assembly remains stable and still resists the door. Adjustment is the simplest possibility, but it is not the correct starting assumption for every slamming door.
Most U.S. screen and storm doors use a tubular pneumatic closer. Other designs exist, but all serve the same basic purpose: they resist the door’s spring-driven movement and control the closing speed.
With an incorrect speed setting, the cylinder, rod, pins, and brackets stay securely positioned. The closer provides noticeable resistance, but the door moves faster than it should because the control setting allows insufficient damping.
A worn closer behaves differently. Internal seals can deteriorate, the rod can bend, or the cylinder can be damaged. A pneumatic closer may lose resistance without leaving liquid behind, while a hydraulic design may develop oily residue near the rod seal or body. Either type may become inconsistent, controlling one closing cycle but allowing the next to run fast.
Resistance can also be lost outside the cylinder. A retaining clip may be missing, a pin may be partly disengaged, or repeated movement may enlarge a bracket hole. The rod can appear connected while excessive play delays closer engagement until the door has already accelerated.
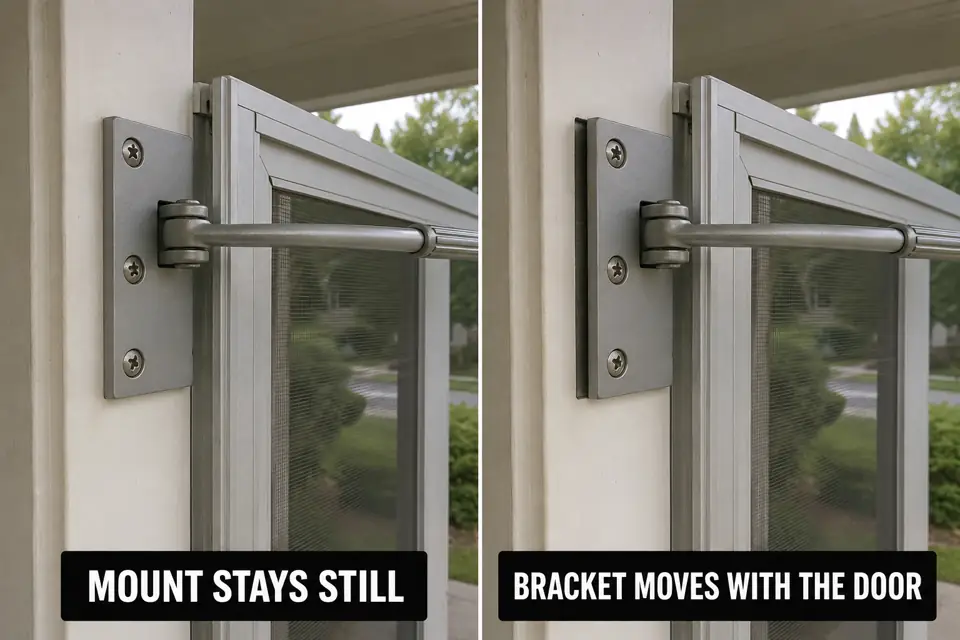
A loose mounting bracket creates a similar bypass. Instead of making the closer absorb the door’s movement, the force rocks or lifts the bracket. Tightening is reasonable only when the fastener holes and mounting material remain sound. A bracket pulling through thin or damaged material is no longer a simple loose-screw problem.
Previous installation changes can also leave the closer with ineffective geometry. Old holes, a shifted bracket, or a rod working at a pronounced sideways angle suggests that the closer is no longer operating through its intended stroke. That condition should not be disguised with a more aggressive speed setting.
A firm final pull into the latch is not automatically a defect. The important distinction is between controlled travel followed by positive latching and uncontrolled speed through most of the swing.
Checks to Make Without Removing the Entire Assembly
The useful installed check is whether every closer component stays secure while resistance passes through it. Clear people and pets from the doorway, control the door by hand, and keep fingers away from the latch edge, hinge edge, and closer linkage.
Start with the cylinder. Look for dents, a bent rod, a separated end cap, or oily residue if the closer uses hydraulic damping. Then inspect both rod connections. Each pin should pass fully through its intended holes and retain its clip or locking feature. A pin riding near the edge of a hole can release unexpectedly.
Hold the door partly open and watch both mounting brackets during a slow close. The brackets and cylinder body should remain stationary relative to their mounting surfaces. A fastener that lifts, a bracket that rocks, or a gap that opens and closes shows that some door movement is shifting the mount instead of operating the closer.
Notice when resistance appears. A functioning closer should oppose movement through a meaningful portion of the sweep. Resistance that lasts only an instant, disappears midway, or changes markedly between cycles points beyond a slightly incorrect setting.
Inspect the exposed rod, pins, and brackets for material that physically blocks movement. Ordinary dust on the cylinder does not explain a complete loss of control. Debris becomes relevant only when it interferes with a connection, the rod’s travel, or access to the correct adjustment control.
Fix Boundary: Stop normal use if the closer is detached, the rod is bent, a pin is partly out, the cylinder is visibly damaged, or a bracket pulls away from its mounting surface. Control the door by hand until the hardware is repaired.
How to Separate Alignment, Wear, Debris, and Installation Causes
Do not classify the cause by appearance alone. The decision should follow the behavior of the closer: whether its travel is straight, its resistance is consistent, and its mounting remains stationary.
Here, “alignment” refers only to the closer rod and brackets—not the hinges or the overall door frame. The rod should work in its intended plane without being forced noticeably sideways.
Use this diagnostic matrix to choose the next action:
- Stable hardware with repeatable resistance: The speed setting is the leading possibility. Identify the correct control before making one small adjustment.
- Bent rod, leakage, or changing resistance: Internal wear or damage is more likely. Stop adjusting and plan for closer replacement or qualified repair.
- Movement at a pin, clip, or connection hole: The linkage is losing part of the closer’s controlling stroke. Correct the connection fault before judging speed.
- Debris physically obstructing an exposed point: Remove only the accessible obstruction, then retest. Dirt elsewhere is not a sufficient diagnosis.
- Bracket movement, old mounting holes, or awkward rod geometry: Treat this as an installation or mounting fault. Do not compensate with repeated speed adjustments.
Mixed evidence should be handled in the same order. If a bracket moves and the closer also appears poorly adjusted, restore a secure mounting baseline first. An unstable bracket makes every speed test unreliable.
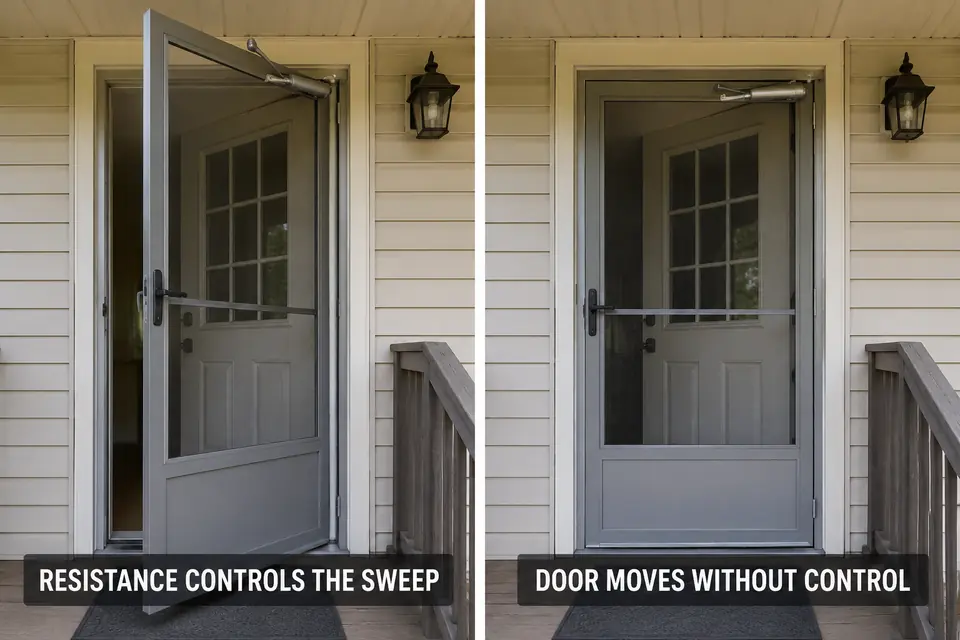
Repeatability is the strongest separator. An incorrect setting normally produces a similar fast close each time and responds consistently to a small adjustment. A failing closer may behave differently between cycles or show no meaningful response to the control.
The Lowest-Risk Correction to Try First
The first correction should address the confirmed weak point, not automatically the adjustment screw. Establish a stable assembly before changing closing speed.
- Restore a usable baseline. Remove only debris obstructing an exposed operating point. Tighten an accessible loose fastener only when its hole, bracket, and mounting material remain sound.
- Identify the speed control. Use markings on the closer or its manufacturer’s instructions. Do not assume every visible screw controls speed.
- Make one small change. Where the instructions permit, about one-eighth turn is sufficient for an initial test. Follow the closer’s specified adjustment direction.
- Leave everything else unchanged. Moving another control or altering the mounting before testing destroys the diagnostic value of the first change.
- Run a complete closing test. Make another small correction only if the response is stable and predictable.
Never back an adjustment screw out of the cylinder. Excessive loosening can release the control on some closer designs. Continuing to turn the screw will not restore internal resistance to a leaking, bent, or mechanically inconsistent closer.
A fastener that will not remain tight is also beyond routine adjustment. The same applies when its hole has enlarged, the bracket shifts under load, or the mounting surface is damaged. Those conditions require mounting repair or closer replacement rather than further speed changes.
How to Test the Screen or Door After Each Change
Test the closer’s response, not merely whether the next close happens to look slower. Clear the swing path, keep control of the door, and begin from a modest opening rather than releasing it from its widest position.
If the first movement remains controlled, repeat from approximately halfway open. Test from a normal wider opening only after the first two positions behave safely.
Watch the main sweep separately from the final latching movement. A passing result is steady, controlled travel followed by enough final movement to engage the latch without a hard impact. A door adjusted so slowly that it regularly remains unlatched has not been corrected successfully.
Repeat the same test at least three times. One gentle close followed by two fast ones indicates inconsistent closer resistance, connection play, or mounting movement—not a completed adjustment.
Test in calm conditions so a gust does not distort the result. This isolates closer behavior without turning the check into wind-damage diagnosis.
Predictable response supports careful fine-tuning. If resistance disappears, closing speed changes between cycles, a bracket moves, or a fastener loosens again, further adjustment has lost its diagnostic value. The closer or its mounting now requires repair.
For a recognized reference showing why controlled closing speed matters, see the U.S. Access Board’s guidance on entrances, doors, and gates.