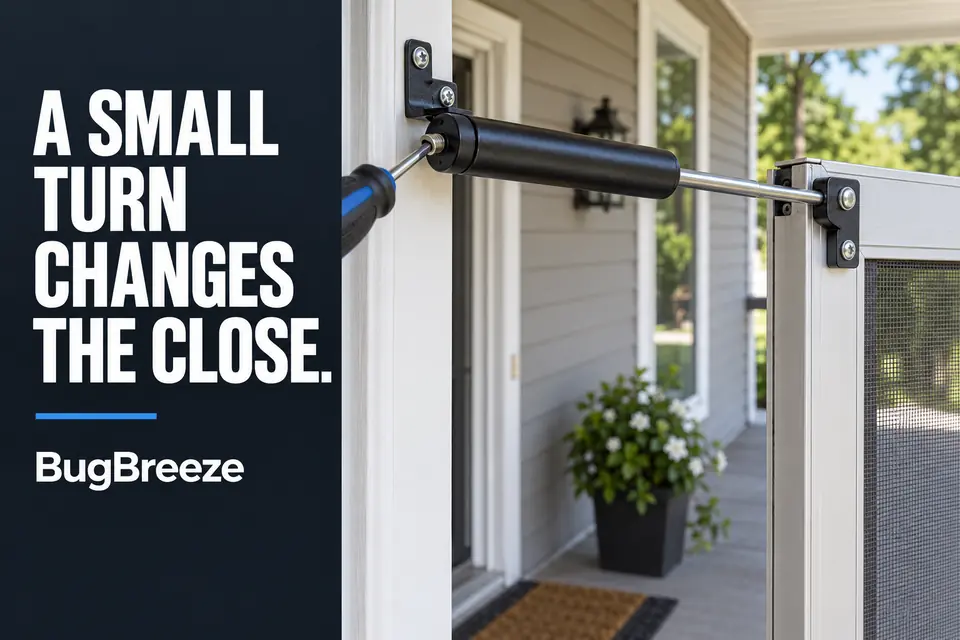
Slowing a pneumatic screen door closer is not a matter of turning the adjustment screw until the door looks about right. The reliable method is a calibration loop: inspect the installed hardware, make one small valve adjustment, and observe one complete hands-off closing cycle.
The small screw near the end of the pneumatic cylinder usually controls how quickly air can escape as the door closes. On many common residential closers, turning it clockwise restricts that airflow and slows the door. Markings or instructions for the installed closer take priority if they indicate otherwise.
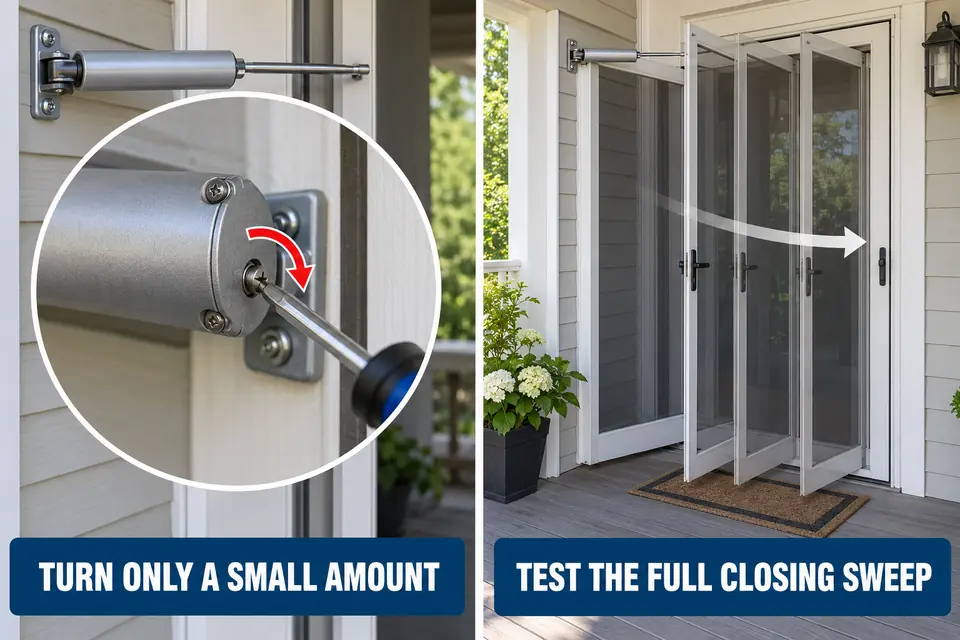
Begin with only about one-eighth to one-quarter turn. Several large turns made before testing can leave the door stalled short of the latch or move the screw beyond its intended adjustment range. The useful setting is not the slowest one—it is the point where the door remains controlled through the full swing and still closes reliably.
Preparing for Adjusting Closing Speed On A Pneumatic Cylinder
The first decision is whether you can reach the speed valve without disturbing the installed closer. An ordinary closing-speed adjustment should not require disconnecting the rod, pulling a mounting pin, or removing the cylinder.
Identify the main parts before placing a screwdriver:
- The cylindrical closer body.
- The sliding rod.
- The brackets attached to the door and jamb.
- The connecting pins at the brackets.
- The small speed-adjustment screw, usually at the end of the cylinder body.
Do not confuse the valve screw with bracket fasteners, connecting pins, or a hold-open washer fitted around the rod. Those components do not control airflow and should remain in place.
Use a screwdriver that fills the screw slot properly. An undersized tip can slip and damage the head, making controlled adjustments difficult. If the screw is reachable with the door closed, leave the door closed while positioning the tool. If the door must be open, stabilize it and keep fingers away from the hinge edge, brackets, and moving rod.
Record the starting screw position with a quick photograph or note the slot’s orientation. That reference matters if the first change slows the door too much and must be partially reversed.
What to Inspect Before Releasing or Removing Anything
Adjustment should stop before it starts if the closer cannot remain mechanically stable. Move the door through one normal cycle and watch the cylinder, rod, pins, and brackets rather than looking only at the door panel.
Confirm that:
- Both brackets remain flush against their mounting surfaces.
- The bracket fasteners do not visibly lift as the closer takes load.
- Both connecting pins are fully seated and retained.
- The rod enters the cylinder without scraping, binding, or bending.
- The cylinder body and seam remain intact.
- The door clears the frame instead of dragging before reaching the latch.
A cracked bracket, bent rod, separating cylinder, or bracket pulling away from the jamb is not a speed setting. Turning the valve may change the door’s behavior, but it cannot stabilize moving or damaged hardware.
Nothing normally needs to be released for this inspection. Removing a pin too early eliminates the installed movement you need to observe and may allow the rod or door to shift unexpectedly.
If the closer provides almost no resistance, its bracket moves under load, or valve adjustment has little effect, use the broader guide to determine why the screen door still slams shut.
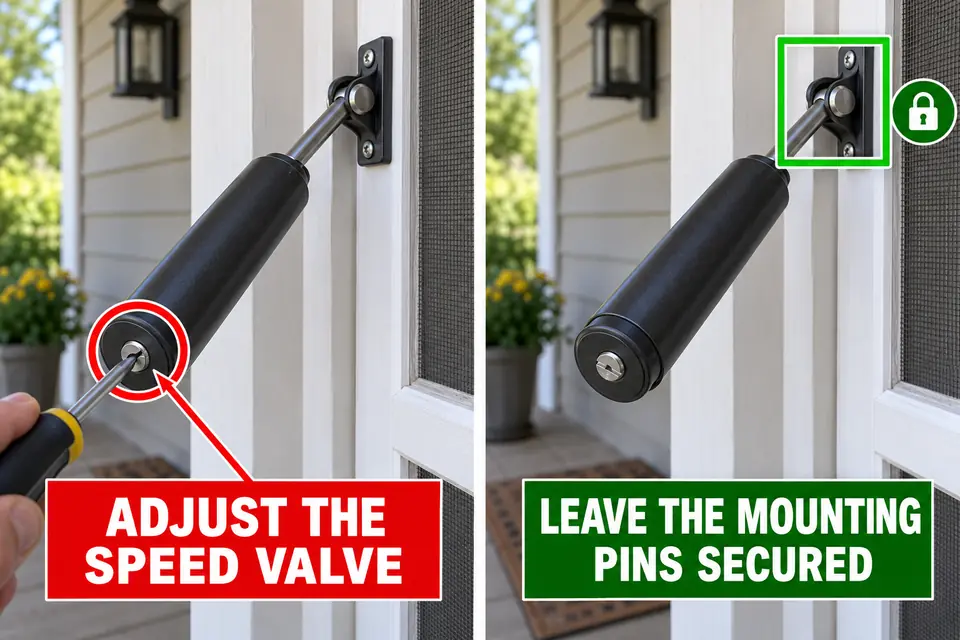
The Order of Work That Prevents a Second Problem
The controlling rule is simple: one small adjustment earns one complete test. Do not stack several screw turns before finding out what the first one changed.
Adjustment boundary: Do not remove the speed screw or attempt to open the cylinder. Stop if the screw will not move under normal screwdriver pressure or becomes unusually loose.
- Record the starting position.
Note the screw-slot orientation or take a photograph. This gives you a known position to return toward if the door becomes too slow. - Make one small clockwise adjustment.
Turn the screw approximately one-eighth to one-quarter turn. Clockwise slows many common pneumatic closers, but follow the installed markings if they show a different direction. Do not force a resistant screw. - Remove the screwdriver.
Take the tool and your hands out of the door’s path before operating it. Moving the door with the tool engaged can damage the screw and places your hand near moving hardware. - Open the door to a normal operating angle.
Use approximately the same starting angle for each test. Comparing a barely opened door with a fully opened one can make an unchanged setting appear different. - Release the door and watch the full sweep.
Do not push, pull, or guide it. Observe the initial movement, the middle of the swing, and the final approach to the latch. - Decide from that test alone.
If the door remains too fast and the assembly stays stable, make another small adjustment. If it stalls before latching, reverse part of the last change rather than altering other hardware.
The common order mistake is treating several turns as one adjustment. That removes the useful reference between screw movement and door behavior, making it harder to identify the setting that actually works.
Clearance, Tension, or Movement Checks During the Work
Do not judge the result by closing time alone. A slower door is not correctly adjusted if it binds halfway through the swing, races through the final inches, or stops before reaching the latch.
Watch for four conditions during every test:
- Consistent resistance: The door should not begin slowly and then suddenly accelerate.
- Free rod travel: The rod should enter the cylinder without rubbing, bending, or changing angle abruptly.
- Clear movement: Handles, trim, weatherstripping, and nearby objects should not interrupt the swing.
- Controlled latching: The final inches should remain restrained while preserving enough movement to close the latch.
A closing time of roughly five to seven seconds can serve as an observational reference for many residential screen and storm doors, but it is not a universal target. Door weight, opening angle, weatherstripping, wind, and closer design all influence the result.
If the door stops short immediately after an adjustment, reverse that change slightly and test again. Do not reposition brackets or increase latch pressure to compensate for a valve setting that is simply too restrictive.
The same boundary applies to a door that rubs or twists against the frame. The speed valve controls airflow inside the closer; it cannot correct a misaligned swing path.
Field note: Outdoor temperature can change pneumatic response. A setting made in warm weather may feel slower during colder conditions, so avoid overcorrecting for one unusually hot or cold day.
What to Recheck Before Trimming or Tightening
The work is complete only when the setting remains consistent across several normal uses. No trimming is part of this adjustment, and unrelated parts should not be cut, bent, repositioned, or tightened merely because the first test was imperfect.
Operate the door through at least two or three complete hands-off cycles. Use the opening angle typical of everyday entry rather than testing only from a few inches open.
Before accepting the setting, confirm:
- The door closes under consistent control instead of accelerating or slamming.
- It reaches the latch without stalling or needing a push.
- The rod travels freely without scraping, binding, or bending.
- Both brackets and connecting pins remain stationary and secure.
- The adjustment screw remains seated and the cylinder shows no separation or damage.
If these conditions remain consistent, leave the hardware alone. If the valve produces little change, the door repeatedly loses resistance, or a bracket moves during testing, larger screw turns are not the stronger fix. Those signs place the problem outside routine closing-speed adjustment.